This is the part where stuff with my VT Cafe Racer saga gets more interesting. I’ve received a career job offer that was too good to refuse and had to make another big move to the east side of the UK. For the first few months I didn’t had a garage or a shed to finish bike up so it acted as a feature in my living room. New job gave an access to various manufacturing machinery, also contacts and places where a lot of mechanical jobs could be done. Started looking into finishing last touches up, BUT, because of all those new opportunities and access to a higher level machinery I just couldn’t not to come back and do some “little adjustments”.


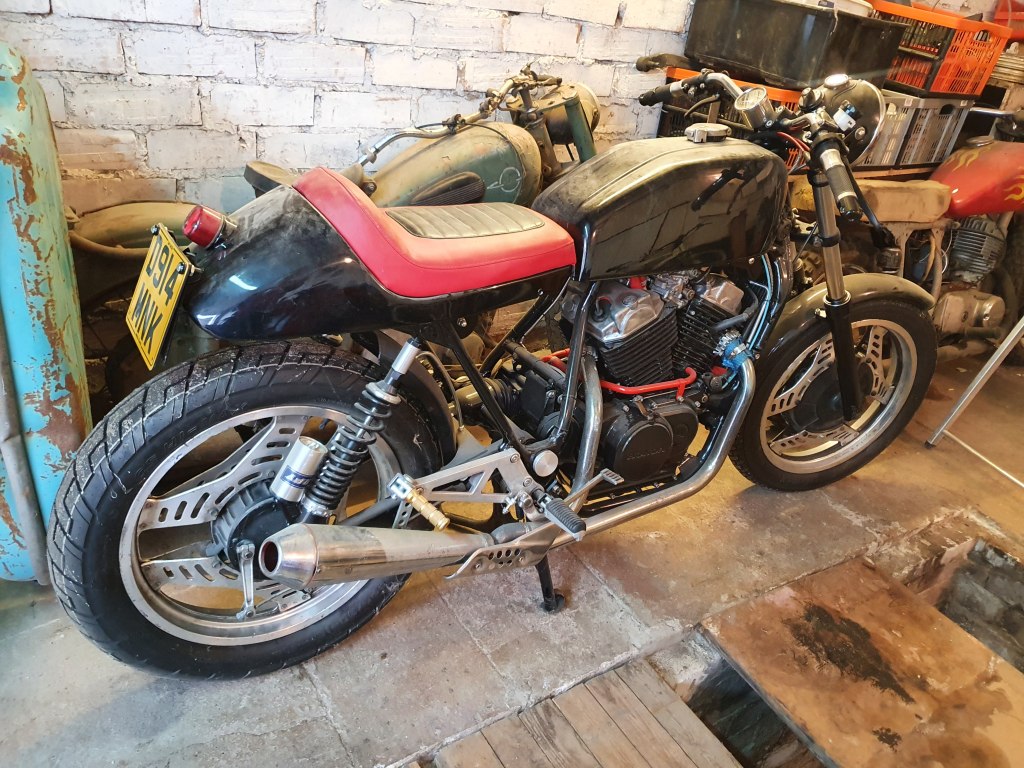
Wasn’t happy with those side covers. Started thinking of making something from fiberglass but did not had enough patience to make templates and shaping and cutting and sanding and fillers and loosing temper. Decided to completely take them off. Then the exposed battery was bit annoying too. In fact, whole rear end was just so tacky that decided to chop it off and start again! From cafe racer forums found really useful info and ideas about ways of simplifying frame, various brackets and hiding wiring loom. At this point I ended up with bare frame AGAIN!


The plan was to hide the battery, wiring and hoses at the back end as possible. Started mocking up and testing ways of how to fit all electronics inside that racery seat.


Before components layout I already had upgrade wiring diagram drawn with all additional relays for my secret controller that will be shown bit later. Spend hours trying to not overcomplicate whole electrical bike part and threw away original Hondas systems such as “Warning light on dash showing rear light not working” thing. Temperature gauge, turn signals and high beams indicator lights from original dash was ripped off too. I must admit I got lost few times in that mess of wires trying to route and hide them that would make sense or could be easily taken off when needed.


Found “aerospace style” wiring plugs that were twice as small as originals. Also looked neater. Wires that could not be easily hidden were put into flexible stainless steel sleeves with made tee pieces (that was a nightmare and so fiddly to make).


Another nosy trip to a vintage bikes swap and I’m back home with another goodie – new old stock fender from… well a motorcycle. Just nobody knows what one. Did some shortening and bending to match smaller wheel curve. Loved how it sits sleek close to tyre.


Probably most unusual addon was a single button on the handlebars. After looking at tons of pictures with clean looking handlebars, hidden cables and wiring I suddenly wanted to have something similar. Started to think how can I reduce of buttons and switches around and came up with an idea to have one button that can do a variety of functions. At the time there was nothing even close on the market to buy and had to improvise and make my own housing. Had very limited access to mill but had a 3d printer! So came a goofy looking button housing and sourced a button with green and red inbuilt LED’s. With a help of brainy electronics fan friends help built a small brain box to control that button. The button did different functions depending on all other bikes sensors. For example: if ignition is on and engine is stationery and gear in neutral and clutch is depressed then it would start the bike. If engine is running (signal taken from alternator charge, oil pressure sensor) and clutch is depressed being in neutral it would turn engine off, otherwise, same button works as a horn. There was a lot of situations to think about and incorporate all that.


In the meantime, I acquired a donor engine. Was a totally unexpected find and after few inspirational YouTube videos decided to check my original engines top end condition. The compression in both cylinders indicated that I might find rusty valves or maybe broken piston. And boy it was worth it and needed to. The pistons were still decent, but barrels had rust spots all around. At the time not wanting to spend fortune on rebuilding engine I got donor engine cylinders machined and matched to my original pistons and rings. Crankshaft, valvetrain looked semi decent (apart from valves themselves).


With some uplifting engineering spirit got cylinder heads skimmed, and my friend with lots of patience, music and cheap dremel did some porting, repaired threads and gave a good clean. He sat there for hours with intense concentration! In the meantime, I machined new water inlet (or outlet?) pipes to replace rusty originals. Got valves reseated, new head gaskets, oil, hopes and all that was put back, painted again and ready.


A week or two later freshen up engine was back into frame for more cafe-engineering.


At this stage life threw a new big change and time started ticking till the big move across the world to Australia. I didn’t want to shelf never ending project again so scrapped other ideas and started moving to final assembly. Everything was wired up and some tweaking was underway. Tested my One Button Does It All system and it worked well!
Shortly after that, bike was budget spray painted and reassembled. Not 100% happy with all the rush but didn’t want to leave it unfinished. Also was itching to drive around Britain’s countryside after constantly rebuilding the bike. After a month I had to put it into a van and travel to Lithuania and lock it safely for better days. I have a feeling that there will be a 4rth reborn in the future. As it stands now this project resembled my years living in UK through different progress in life, jobs, friends and wisdom.


